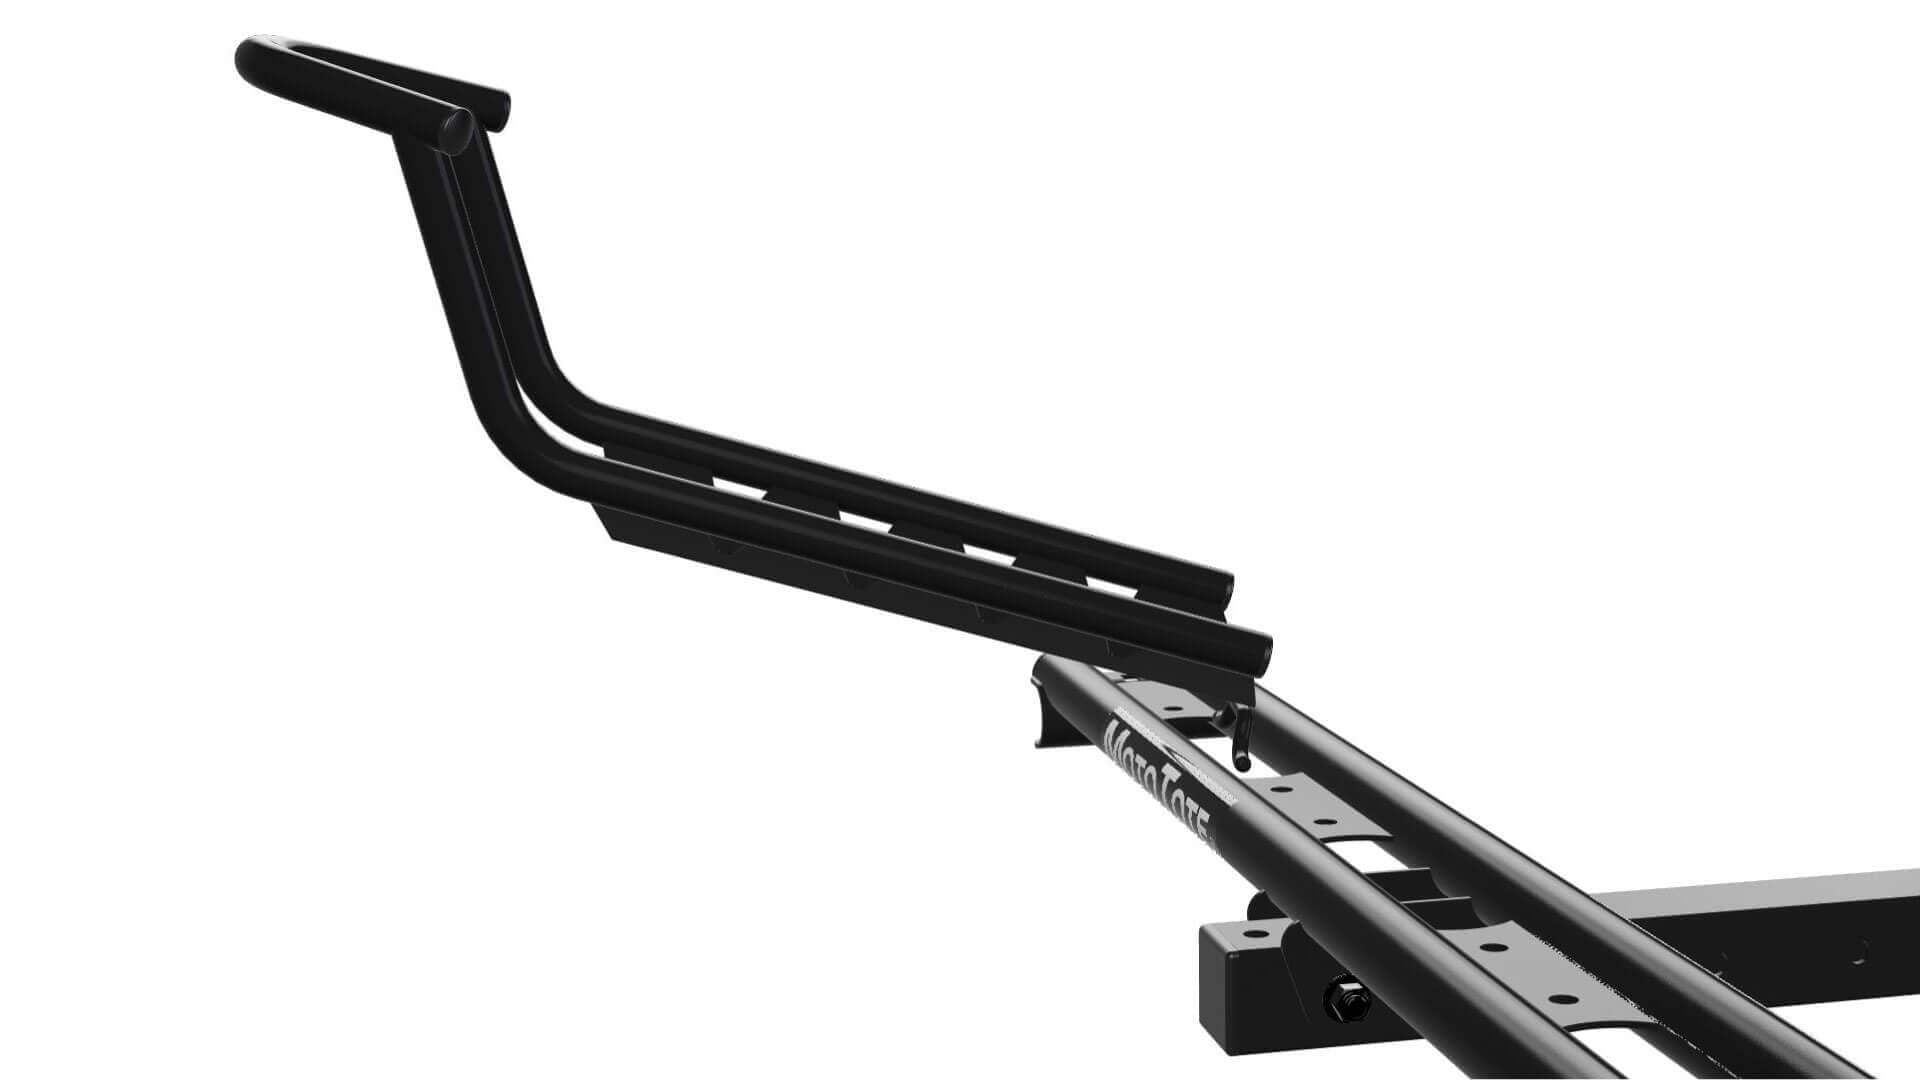
Locate the wheelstop and insert the anchor into the rectangular slot by turning the wheelstop sideways as shown. Rotate the wheelstop forward to align with the platform ensuring the anchor is hooked under the platform.
(B.) Mount the 2nd Wheel Stop
On the rear platform on the opposite side (as shown in the image), insert the second wheelstop with the same procedure as step A.
(C.) Mount Rear Tire Holders
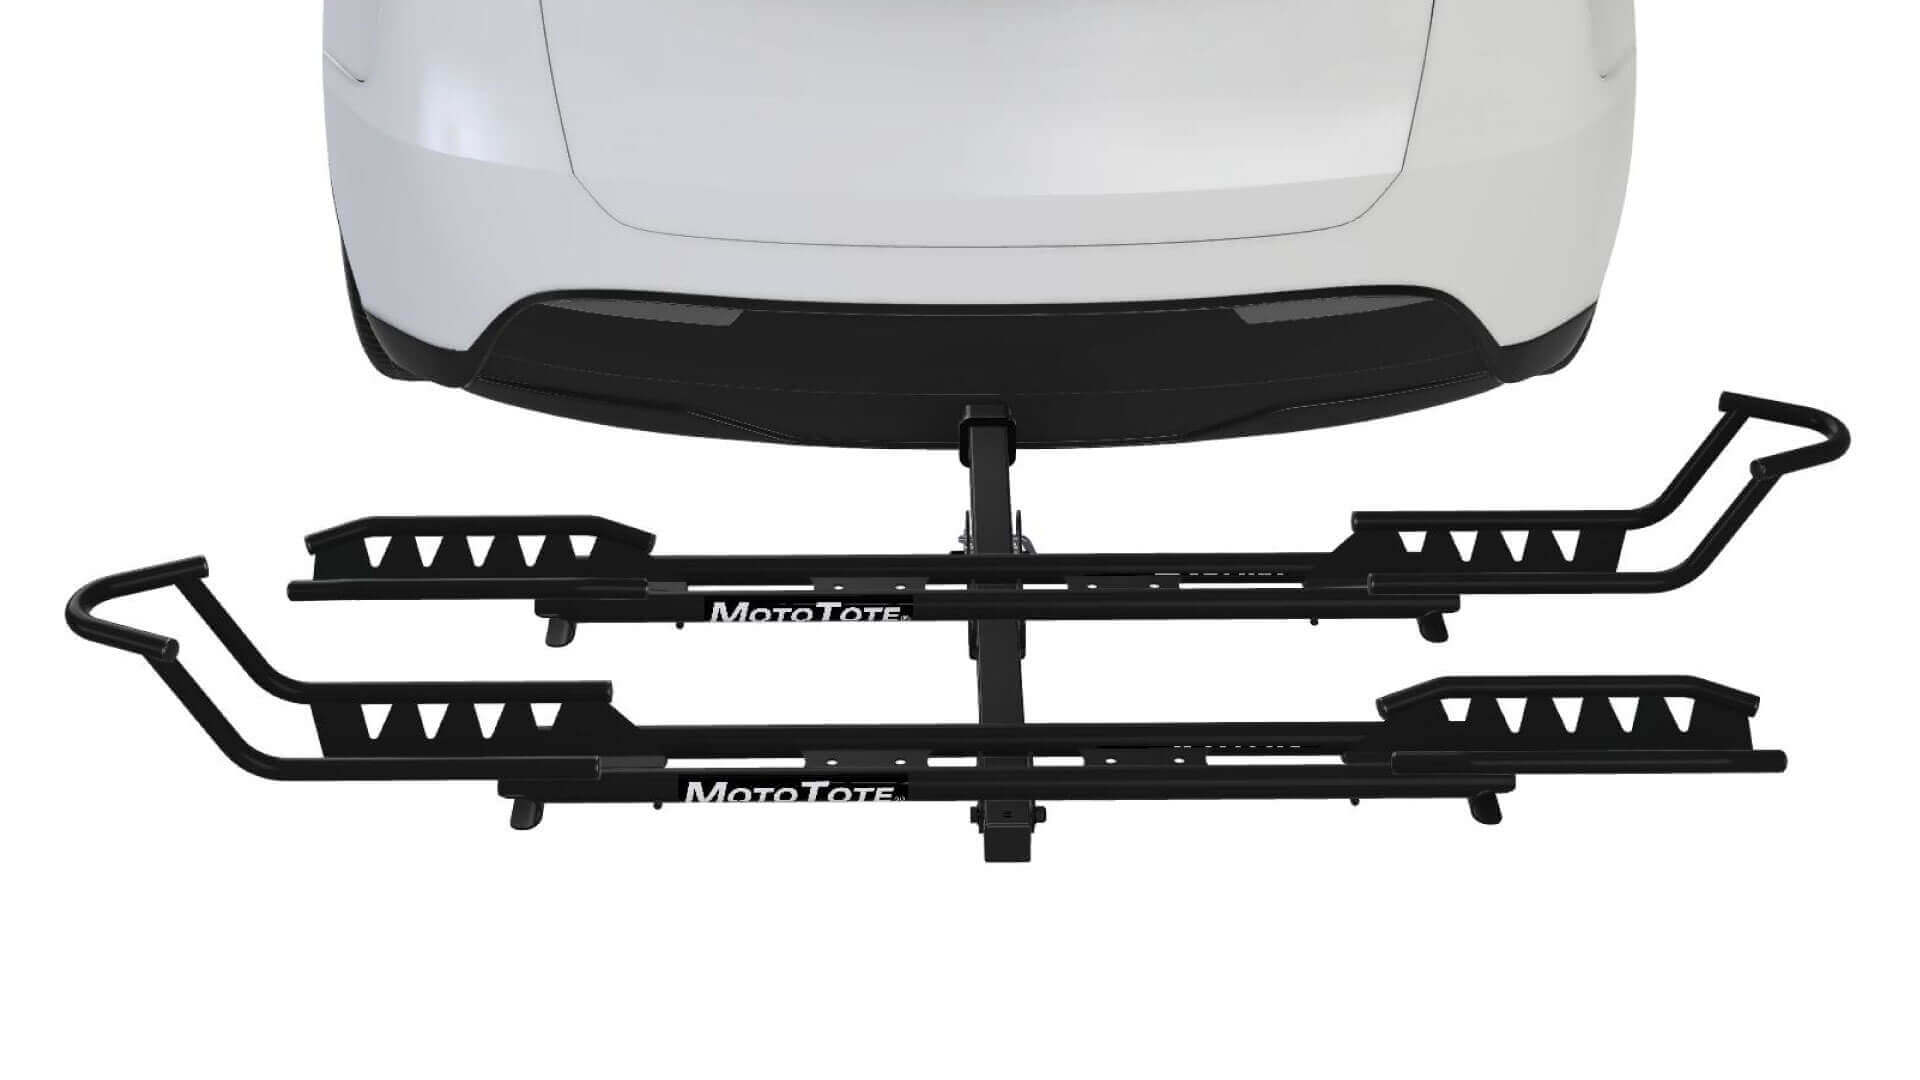
On the opposite sides of where you mounted the wheelstops, insert the rear tire holders with the same procedure as you did for the front wheelstops.Adjust the positioning of the wheelstop and rear tire holders to match the wheelbase of your bikes. Align with the nearest holes in the platform. (Measure and compare track to your bikes size for an optimal fit).
(D.) Mount Tie Down Arms & Secure Wheel Stop/Tire Holder
Locate and insert the tie down arms as shown in the photo so the loops are facing upwards.Re-align the tire holder/wheelstop, platform and tie down holes.Insert the bolts in the bags labeled "Step 2" (without washers). Place washers and nuts on ends of the bolts under the platform and hand tighten. (Final tightening when your bike is loaded).Note: The wheelstop and rear tire holder can be placed in any of the mounting holes, but matching the front and back hole pattern will help center the bike on the rack.


 Skip to content